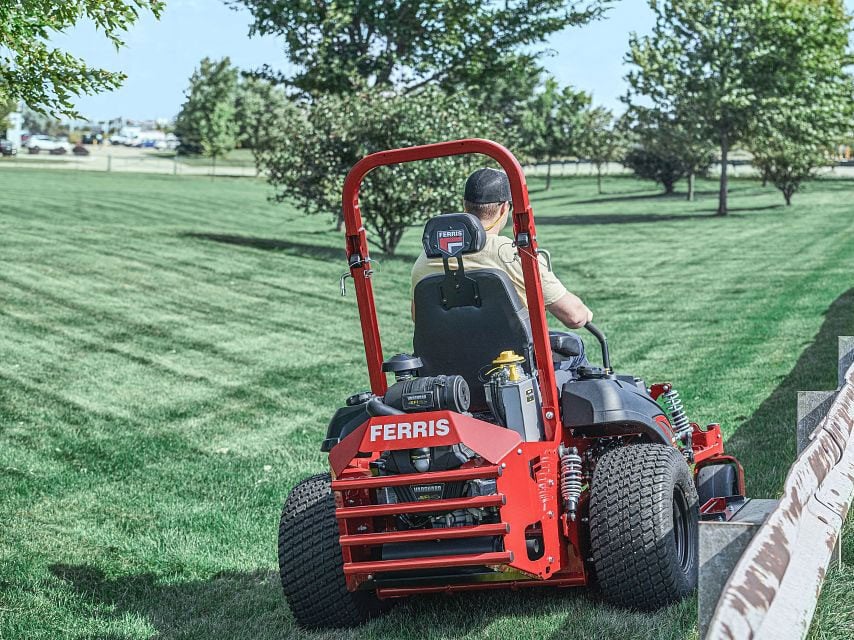
Crafting a Lawn Masterpiece

Are you getting bored of the same straight lines on your lawn? It's time to transform your lawn into a canvas for creative expression. With a Ferris mower, you can easily craft a stunning lawn design that will make your yard the talk of the neighborhood.
Stripes: The Classic Look
Step 1 - Mow Straight Lines
Start at one edge of your lawn and mow in a straight line to the other edge.
Step 2 - Turn and Repeat
Turn around and mow in the opposite direction, slightly overlapping the previous row. For extra sharp stripes, mow over each stripe twice - once in each direction.
For Advanced Striping
Use the Ferris lawn striping kit attachment to bend the grass blades in alternating directions, enhancing the stripe effect.
Checkerboard: A Professional Touch
Step 1 - Start With Stripes
First, create straight stripes as described above.
Step 2 - Crosshatch
After completing the first set of stripes, mow another set of stripes perpendicular to the first set. To keep lines straight, focus on a fixed point in the distance and mow towards it.
For a More Enhanced Design
Use the Ferris lawn striping kit attachment to bend the grass blades in alternating directions, enhancing the checkered effect.
Diamond Patter: Elegance Redefined
Step 1 - Diagonal Stripes
Mow the lawn diagonally, starting at one corner and working your way towards the opposite.
Step 2 - Cross Diagonal Stripes
Mow another set of diagonal stripes perpendicular to the first set, creating a diamond grid.
For a Bolder Diamond Design
Use the Ferris lawn striping kit attachment to bend the grass blades in alternating directions, enhancing the diamond effect.
Waves: Go With The Flow
Step 1 - Curved Paths
Instead of straight lines, mow in gentle, flowing curves from one side of the lawn to the other.
Step 2 - Repeat and Overlap
Turn around and mow back in the opposite direction, creating overlapping curved paths.
For a More Popping Effect
Use the Ferris lawn striping kit attachment to bend the grass blades in alternating directions, enhancing the wavy effect.
Spirals: The Artistic Touch
Step 1 - Start At The Center
Begin mowing at the center of your lawn and work your way outwards in a spiral pattern.
Step 2 - Consistent Spacing
Keep your spacing consistent to maintain the spiral effect. Use a small garden flag or marker at the center point to keep your spiral focused.
For the Most Vibrant Outcome
Use the Ferris lawn striping kit attachment to bend the grass blades in alternating directions, enhancing the spiraling effect.
Extra Tips for All Patterns
- Keep blades sharp to ensure a clean cut, which is crucial for a neat and defined design.
- Only mow when grass is dry because wet grass can bend and clump, ruining your patterns.
- Change it up by alternating mowing directions each time you mow. This keeps the grass healthy and prevents wear patterns.
.png?width=250&height=50&name=Ferris%20Corporate%20Logo%20CMYK%20(1).png)